I am an amateur photographer, by which I mean I have spent far too much on photograpic equipment and have made absolutely zero return on my investment. I imagine quite a lot of people are in a similar position.
So long as I studiously ignore the financial outlay, I enjoy photography. I decided that—as per my declaration in the —rather than posting said images exclusively to propietary social media services, I will own the means of distribution myself.
Although I have previously espoused the virtue of the Gatsby Plugin Library, gastsby-image-gallery is not counted among it’s members. It is, however, found on GitHub. First, I added this via npm:
npm install --save @browniebroke/gatsby-image-gallery
Basic implementation
I made a new page called and added it to my nav component.
The relevant code looks like this:
const Photography = ({ location, data }) => {
  const images = data.allFile.edges.map(({ node }) => node.childImageSharp);
  return <Gallery images={images} />;
};
The graphql query which is passed as data to the component is as follows:
export const query = graphql`
  query ImagesForGallery {
    allFile(filter: { sourceInstanceName: { eq: "photography" } }) {
      edges {
        node {
          childImageSharp {
            thumb: fluid(maxWidth: 270, maxHeight: 270) {
              ...GatsbyImageSharpFluid
            }
            full: fluid(maxWidth: 2560) {
              ...GatsbyImageSharpFluid
            }
          }
        }
      }
    }
  }
`;
This relies on ensuring that a sourceInstanceName is set in gatsby-config.js:
{
    resolve: `gatsby-source-filesystem`,
    options: {
    name: `photography`,
    path: `${__dirname}/content/photography`,
    },
},
Simple? You’re not joking. This is all that is required for a functional image gallery.
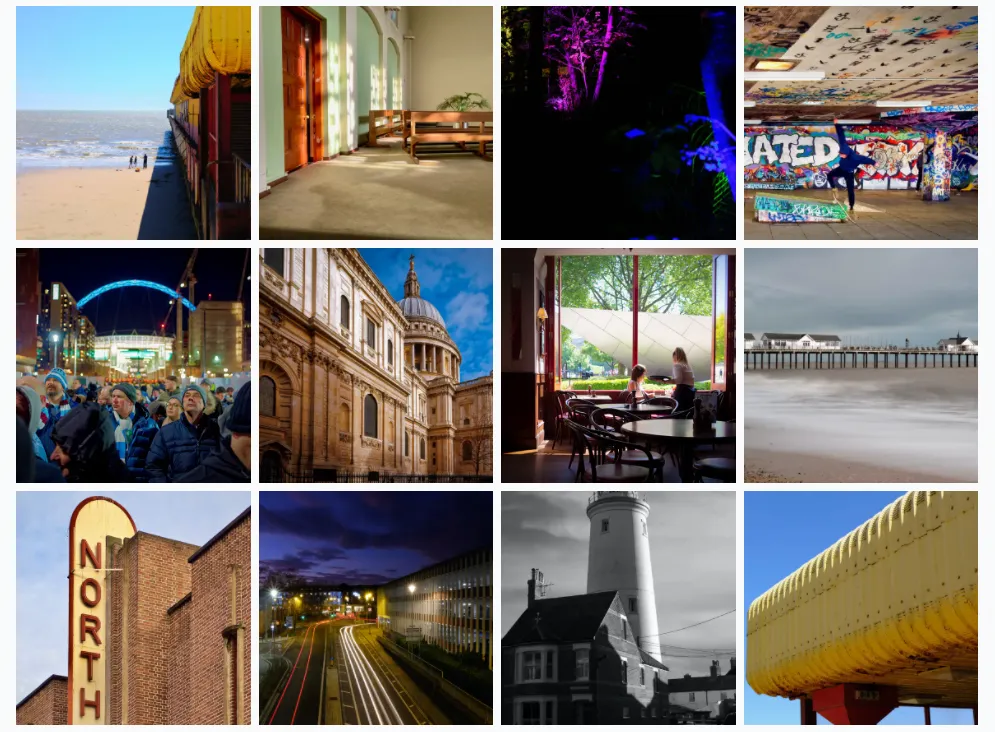
All images are simply placed in a folder at content/photography. Any image in that folder becomes part of the gallery, with a square thumbnail which, when clicked, opens to a fullscreen view with a semi-transparent overlay, zoom buttons, and an exit button. The photos can be cycled through either by clicking the relevant buttons or with left and right keypresses.
Niceties
This alone will give you a simple gallery with fullscreen click through view. But gatsby-photo-gallery does accept a couple of props which can add some functionality.
Title
First, adding a title to the top bar of the fullscreen viewer can be achieved by passing title to the component. A little reconfiguration is required here. First, where should I get the title? The filename seems the obvious place to start. This depends then on ensuring that the files are named appropriately, as usually files are named in a manner like DSC00023.jpg or something along those lines.
It is simple enough with GraphQL to gather this information from the file:
allFile(filter: { sourceInstanceName: { eq: "photography" } }) {
  edges {
    node {
      childImageSharp {
        thumb: fluid(maxWidth: 570, maxHeight: 570, quality: 80) {
          ...GatsbyImageSharpFluid
          // highlight-start
          originalName
          // highlight-end
        }
        full: fluid(maxWidth: 2560, quality: 100) {
          ...GatsbyImageSharpFluid
        }
      }
    }
  }
}
Now, when mapping over the files to make the images object to pass to the Gallery component, I can add the image and the title, like so.
const images = data.allFile.edges.map(({ node }) => ({
  ...node.childImageSharp,
  //highlight-start
  title: node.childImageSharp.thumb.originalName.replace(/\..+$/, ""),
  //highlight-end
}));
Now each image will have a title in the top bar along with the zoom and quit buttons. The replace() function is simply ensuring that the file extension is not displayed.
Metadata Captions
The component also accepts caption as a prop. I would like to include metadata from the image, such as which camera the shot was taken with, and what settings such as ISO, aperture and shutter speed were used.
This information is—in theory—contained within each file. But this is not immediately accessible using GraphQL. Thankfully, another package exists which can grant access. In the Gatsby plugin library, gatsby-plugin-sharp-exif extends gatsby-image-sharp to allow gathering all sorts of metadata from an image file.
This is installed via npm:
npm install --save gatsby-plugin-sharp-exif
And needs to be added to gatsby-config.js:
module.exports = {
  plugins: ["gatsby-plugin-sharp-exif"],
};
Once this is done, I can now query the file in our GraphQL query:
allFile(filter: { sourceInstanceName: { eq: "photography" } }) {
  edges {
    node {
      childImageSharp {
        //highlight-start
        fields {
          exif {
            meta {
              dateTaken
            }
            raw {
              image {
                Make
                Model
              }
              exif {
                ISO
                FocalLength
                FNumber
                ExposureTime
                LensMake
                LensModel
              }
            }
          }
        }
        //highlight-end
        thumb: fluid(maxWidth: 570, maxHeight: 570, quality: 80) {
          ...GatsbyImageSharpFluid
          originalName
        }
        full: fluid(maxWidth: 2560, quality: 100) {
          ...GatsbyImageSharpFluid
        }
      }
    }
  }
}
As you can see, we can gather a lot of information from the file.
This information needs to be passed to the component somehow—but we only have a single field available.
const images = data.allFile.edges.map(({ node }) => ({
  ...node.childImageSharp,
  title: node.childImageSharp.thumb.originalName.replace(/\..+$/, ""),
  // highlight-start
  caption: ` ${node.childImageSharp.fields.exif.meta.dateTaken.slice(
    0,
    4
  )} | ${node.childImageSharp.fields.exif.raw.image.Make.split(" ")[0].charAt(
    0
  )}${node.childImageSharp.fields.exif.raw.image.Make.split(" ")[0].slice(1).toLowerCase()} ${
    node.childImageSharp.fields.exif.raw.image.Model
  } | ISO ${node.childImageSharp.fields.exif.raw.exif.ISO} | ${
    node.childImageSharp.fields.exif.raw.exif.FocalLength
  }mm | 𝑓 ${node.childImageSharp.fields.exif.raw.exif.FNumber} | ${
    node.childImageSharp.fields.exif.raw.exif.ExposureTime < 1
      ? "1 /" + Math.round(1 / node.childImageSharp.fields.exif.raw.exif.ExposureTime)
      : node.childImageSharp.fields.exif.raw.exif.ExposureTime
  } sec `,
  // highlight-end
}));
Quite a lot to unpack here. As you can see, I now have caption as part of my object. Let’s go through it line by line:
${node.childImageSharp.fields.exif.meta.dateTaken.slice(0, 4)} |
This line gets the dateTaken field and returns just the first four characters (i.e. the year from a datetime string).
${node.childImageSharp.fields.exif.raw.image.Make.split(" ")[0].charAt(
  0
)}${node.childImageSharp.fields.exif.raw.image.Make.split(" ")[0]
  .slice(1)
  .toLowerCase()} ${node.childImageSharp.fields.exif.raw.image.Model} |
This is for gathering the camera manufacturer. This information (in my experience) is often held in all caps and contains too much information. By way of example, my Olympus E-M10II reports the manufacturer as OLYMPUS CORPORATION. I don’t need the word corporation here, and I would prefer the word olympus to be styled as Olympus.
In order to achieve this I take the string (OLYMPUS CORPORATION) and get just the first word with split(" ")[0].
I take the first character (charAt(0)—the zeroth character) and then perform the same split again, but this time I want the word minus the initial character. I do this by slicing (slice(1)) from character 1 to the end, and then convert this part to lowercase (toLowerCase()). Combining these 2 things gives me the word Olympus in the style I prefer. The model number is just gathered as is.
ISO ${node.childImageSharp.fields.exif.raw.exif.ISO} |
${node.childImageSharp.fields.exif.raw.exif.FocalLength}mm |
𝑓 ${node.childImageSharp.fields.exif.raw.exif.FNumber} |
The next three lines are obvious, I am simply gathering the ISO, Focal Length and the f number (the aperture value) and displaying them next to appropriate indicating markers.
${
  node.childImageSharp.fields.exif.raw.exif.ExposureTime < 1
    ? "1 /" +
      Math.round(1 / node.childImageSharp.fields.exif.raw.exif.ExposureTime)
    : node.childImageSharp.fields.exif.raw.exif.ExposureTime
} sec
Shutter speeds are a little more annoying. These are actually held in the file in seconds. Most pictures are taken at shutter speeds in fractions of a second. But, of course, they can be many seconds long.
It is simple to calculate the fractional value, but we must allow for longer shutter speeds. That is why I use a ternary expression.
If the value held in the file is less than 1 second, I will return a fraction. Else I will return the value and add sec to indicate that it is in seconds.
All of these values are simply a single string literal, separated by a | character.
This now works. Each image will have a title in the top bar, and metadata in the bottom bar.
Caveats
It is crucial to understand that this approach requires the file have the appropriate metadata contained within. If the fields are empty, this will display null as a value for each field. This doesn’t concern me—I am maintaing metadata in my files and intend to continue doing so. But if it does concern you, you can add further ternary expressions to catch this eventuality and handle it.
Of even greater concern is if the fields do not exist at all in the file. To be clear, not only is there no value, but the field does not exist. In this case, you will receive an error on rendering. Again you can either catch this and handle it with a ternary expression, or, as I have done in the past, you can find an exif editor for your system which allows you to add the fields back in. I have used Exif Pilot on Windows and Photos Exif Editor on Mac.