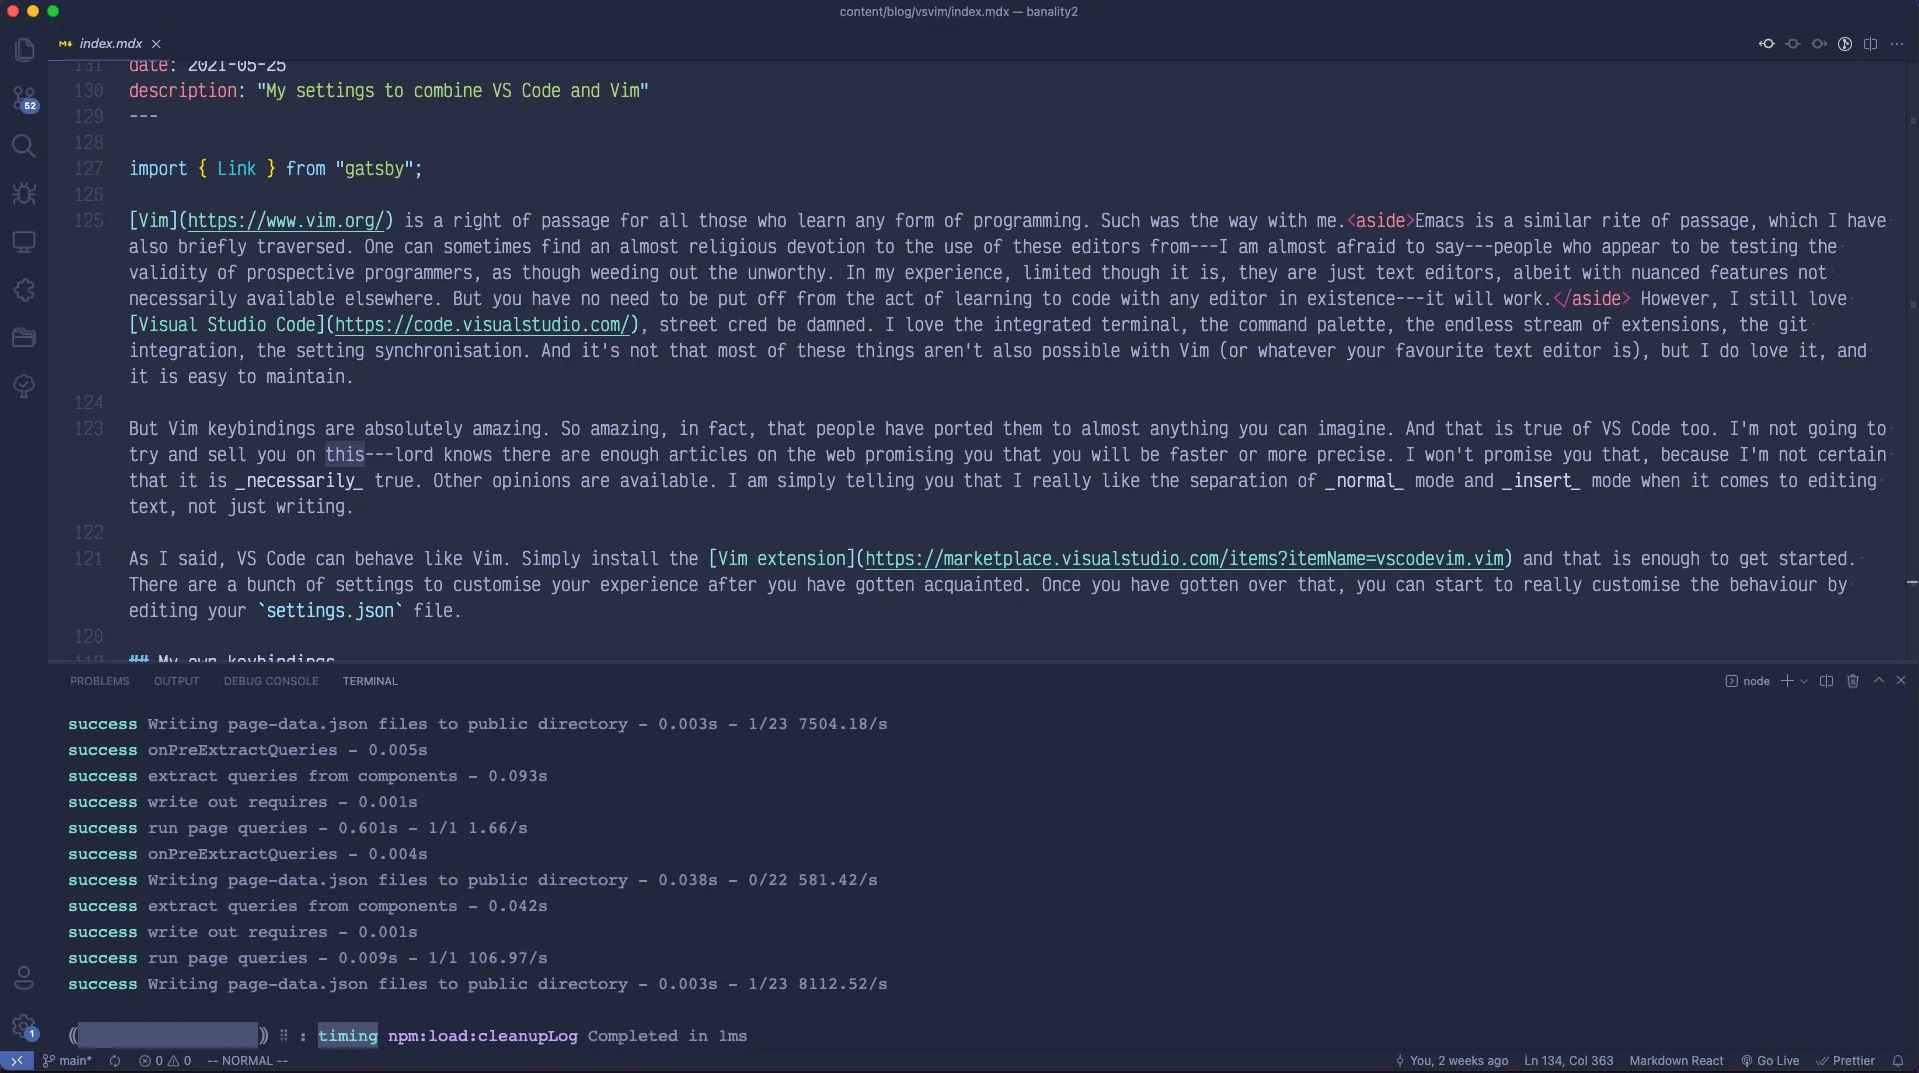
Vim is a right of passage for all those who learn any form of programming. Such was the way with me.Emacs is a similar rite of passage, which I have also briefly traversed. One can sometimes find an almost religious devotion to the use of these editors from—I am almost afraid to say—people who appear to be testing the validity of prospective programmers, as though weeding out the unworthy. In my experience, limited though it is, they are just text editors, albeit with nuanced features not necessarily available elsewhere. But you have no need to be put off from the act of learning to code with any editor in existence—it will work. However, I still love Visual Studio Code, street cred be damned. I love the integrated terminal, the command palette, the endless stream of extensions, the git integration, the setting synchronisation. And it’s not that most of these things aren’t also possible with Vim (or whatever your favourite text editor is), but I do love it, and it is easy to maintain.
But Vim keybindings are absolutely amazing. So amazing, in fact, that people have ported them to almost anything you can imagine. And that is true of VS Code too. I’m not going to try and sell you on this—lord knows there are enough articles on the web promising you that you will be faster or more precise. I won’t promise you that, because I’m not certain that it is necessarily true. Other opinions are available. I am simply telling you that I really like the separation of normal mode and insert mode when it comes to editing text, not just writing.
As I said, VS Code can behave like Vim. Simply install the Vim extension and that is enough to get started. There are a bunch of settings to customise your experience after you have gotten acquainted. Once you have gotten over that, you can start to really customise the behaviour by editing your settings.json file.
My own keybindings
Before we get started on the various shortcuts I prefer, I will just tell you that I prefer my cursor to change depending on the mode. I prefer a block in normal mode, and a line during insertion. I also use an outline-block during replace mode so I can see the character I am replacing. This helps me tell at a glance which mode I am in. This can be added to settings.json like so:
"vim.cursorStylePerMode.insert": "line",
"vim.cursorStylePerMode.normal": "block",
"vim.cursorStylePerMode.replace": "block-outline",
The leader key
The next things to consider is your leader key. By default, leader is set to \. The leader key is useful for configuring your own shortcuts, as we will see in a moment. I like to set mine to the spacebar.
"vim.leader": "<space>",
Normal mode
Now the leader key is set to your preference, we can start setting some shortcuts. First, in normal mode.
"vim.normalModeKeyBindings": [
    {
        "before": ["<tab>"],
        "commands": ["workbench.action.nextEditor"]
    },
    {
        "before": ["<S-tab>"],
        "commands": ["workbench.action.previousEditor"]
    },
    {
        "before": ["<leader>", "w"],
        "commands": ["workbench.action.files.save"]
    },
    {
        "before": ["<leader>", "q"],
        "commands": ["workbench.action.closeActiveEditor"]
    },
],
So, in normal mode, tab will cycle to the next open editor tab, and shift-tab will cycle back to the previous one. Next, space-w will write (i.e. save) the current file, and space-q will close the currently selected tab. I am used to w for saving a file, but one could obviously set this to leader, s if this were a mnemonic one preferred.
Movement
The following was cribbed from elsewhere, and is related to changing which split is in focus. For example, one might have index.html open in the editor and decide to open style.css in a vertical split window next to it at the same time. Rather than using the mouse to click between these splits, the following would be useful.
"vim.normalModeKeyBindingsNonRecursive": [
    {
        "before": ["<leader>", "\\"],
        "commands": ["workbench.action.splitEditor"]
    },
    {
        "before": ["<C-h>"],
        "after": ["<C-w>", "h"]
    },
    {
        "before": ["<C-j>"],
        "after": ["<C-w>", "j"]
    },
    {
        "before": ["<C-k>"],
        "after": ["<C-w>", "k"]
    },
    {
        "before": ["<C-l>"],
        "after": ["<C-w>", "l"]
    },
    ...
]
In these mappings, space-\ opens a new vertical split in the window. Then ctrl-h,j,k,l traverses the available splits. So in our example above, you might be editing index.html in the left pane, make a change to a classname or something, and press ctrl-l to move quickly into the style.css file and make the necessary change there too. A quick ctrl-h would put you back in the left pane. I don’t generally have more than 2 panes at any one time, but you could have a complex set of panes and move through them easily without using the mouse at all.
Command palette
The command palette (accessed via ⌘+⌥+p on a Mac, or ctrl+shift+p on Windows), is a very useful tool that I access often, so I have made a shortcut for it. This is also in "vim.normalModeKeyBindingsNonRecursive" along with the movement shortcuts above.
[
...
    {
        "before": ["<Leader>", "p"],
        "commands": ["workbench.action.showCommands"]
    }
  ],
Visual mode—indent and outdent
Visual mode refers to selections. The following bindings require a line or block of text to be selected and allows for quick indentation of the selection. The motion can be repeated until you exit visual mode.
  "vim.visualModeKeyBindings": [
    {
        "before": [">"],
        "commands": ["editor.action.indentLines"]
    },
    {
        "before": ["<"],
        "commands": ["editor.action.outdentLines"]
    }
  ],
Insert mode
Finally, a common idea that I cribbed from elsewhere, but which I do not use at all, as I shall explain briefly in a moment.
  "vim.insertModeKeyBindings": [
    {
        "before": ["j", "j"],
        "after": ["<esc>"]
    },
  ],
When inserting text, quickly double tapping j will leave insert mode and return to normal mode. This is a common device among Vim users in order to avoid reaching all the way over for the escape key. For my own part, I prefer using caps lock as escape, See my post HyperKey for more on this. something I have set up as a system wide configuration so does not require a special binding in VS Code.